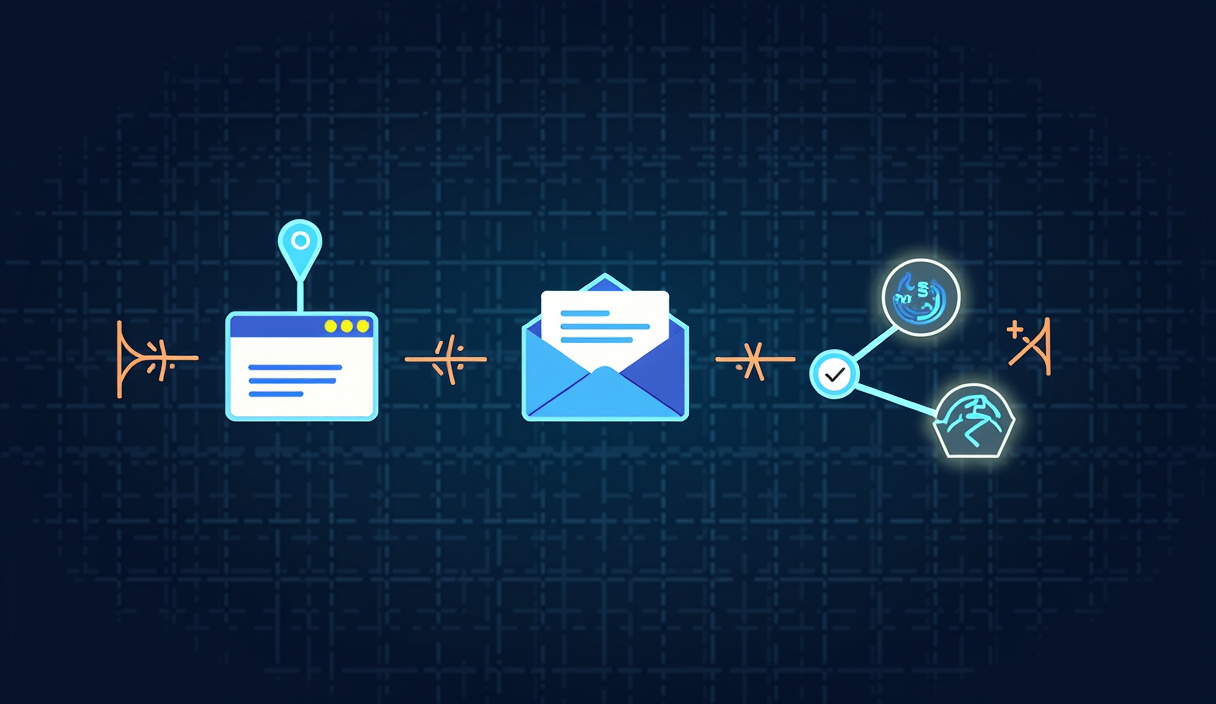
You can build an n8n webhook-to-email automation in under 30 minutes using just three nodes: a Webhook trigger, Edit Fields for data processing, and Send Email for delivery. This creates an HTTP endpoint that receives POST data and automatically forwards it as formatted emails - perfect for contact forms, alerts, or notification systems that need instant delivery.
n8n is an open-source workflow automation platform that connects different services through visual, node-based workflows without requiring traditional coding skills.
The core challenge most builders face isn't the basic connection - it's handling the webhook data structure correctly and building resilience against the common failure points that break email delivery in production. This n8n webhook to email tutorial walks through the exact node configuration, data mapping expressions, and error handling that separate a working prototype from a reliable automation.
What you need
Before diving into this n8n webhook to email tutorial, gather your technical stack and plan for roughly 30-45 minutes of setup time:
| Tool | Plan/Price | Role |
|---|---|---|
| n8n (Self-hosted) | Free (Community Edition) | Workflow automation platform |
| n8n Cloud | Check current pricing | Hosted alternative (starts with free trial) |
| SMTP Provider | Varies | Email delivery service |
| Gmail/Outlook | Free personal account | Simple SMTP option |
| Domain/Server | $5-20/month | For self-hosted n8n (optional) |
The self-hosted Community Edition of n8n gives you unlimited workflow executions without monthly caps, making it the most cost-effective choice for high-volume email notifications. Cloud plans offer convenience but include execution limits that may not suit heavy notification workflows.
Setting up your webhook trigger
Start by creating a new workflow in n8n and adding the Webhook node as your trigger. The Webhook node creates an HTTP endpoint that your external systems can POST data to, initiating the email automation.
- Add the Webhook node: Drag a Webhook node onto your canvas from the triggers section.
- Configure the HTTP method: Set the HTTP Method to
POSTsince most form submissions and API integrations send data via POST requests.
- Set the webhook path: Enter a memorable path like
/contact-formor/alert-notification. This becomes part of your webhook URL.
- Configure authentication: For public forms, leave Authentication as
None. For internal systems, consider using Header Auth with a secret token.
- Set the response mode: Change "Respond" to "Using 'Respond to Webhook' Node" if you want to return custom responses to the sender.
The webhook URL format will be https://your-n8n-instance.com/webhook/your-path. Copy this URL - you'll need it for testing and connecting your external systems.
Processing webhook data with Edit Fields
Raw webhook data arrives nested under $json.body, and you'll need to extract and clean the relevant fields before sending them via email. This step prevents empty emails and formats data properly.
- Add an Edit Fields node: Connect it after your Webhook trigger.
- Extract the email field: Add a new field called
sender_emailwith the value{{ $json.body.email }}. This pulls the email address from the POST body.
- Extract the message content: Create a
message_contentfield using{{ $json.body.message }}or whatever field name your form uses.
- Add sender name: Include
sender_namewith{{ $json.body.name }}to personalize the email.
- Create a subject line: Add a
email_subjectfield with a template likeNew Contact Form: {{ $json.body.subject || 'No Subject' }}. The||operator provides a fallback if no subject is provided.
Here's the exact Edit Fields configuration for a typical contact form:
This configuration extracts form data and creates clean, named fields that the email node can reference reliably.
Configuring email delivery
The Send Email node handles the actual message delivery, but it requires proper SMTP credentials and careful template configuration to work reliably.
- Add the Send Email node: Connect it after your Edit Fields node.
- Set up SMTP credentials: Click "Create New Credential" and choose your email provider. For Gmail, you'll need an App Password rather than your regular password.
- Configure the recipient: Set "To Email" to your destination address (like
contact@yourcompany.com).
- Set the reply-to address: Use
{{ $json.sender_email }}so replies go back to the form submitter.
- Build the subject line: Reference your processed field with
{{ $json.email_subject }}.
- Create the email body: Use a template that includes all the relevant data:
Set the sender name: Use your company name or a recognizable identifier in the "From Name" field, not the form submitter's name (which would likely get flagged as spoofing).
The key insight for reliable delivery is separating the sender identity (your SMTP account) from the reply-to address (the form submitter). This prevents authentication issues while maintaining conversational flow.
Building response handling
Most webhook integrations expect an HTTP response to confirm successful processing. Without proper response handling, external systems may retry submissions or show error messages to users.
- Add a Respond to Webhook node: Connect it after your Send Email node.
- Set the status code: Use
200for successful processing.
- Return JSON response: Set the body to JSON format with a success message:
- Add response headers: Include
Content-Type: application/jsonin the headers section.
For error handling, you can add conditional logic using an IF node to check if the email was sent successfully and return different responses based on the outcome. This prevents false positive responses when email delivery fails.
Testing your webhook automation
Before connecting external systems, verify your n8n webhook to email tutorial implementation handles both success and failure scenarios correctly.
- Test with valid data: Send a POST request to your webhook URL using a tool like Postman or curl:
- Verify email delivery: Check that the email arrives with properly formatted content and correct reply-to settings.
- Test missing fields: Send requests with missing required fields to ensure your workflow handles incomplete data gracefully.
- Check response format: Confirm that your webhook returns the expected JSON response with appropriate status codes.
The execution log in n8n shows exactly how data flows between nodes, making it easy to debug expression errors or missing fields.
!Testing your webhook automation — n8n webhook to email tutorial ## Where this breaks
Real-world webhook-to-email automation faces several common failure modes that can break delivery or create security vulnerabilities if not addressed properly.
SMTP authentication expiry is the most frequent cause of silent failures. Gmail App Passwords, Office 365 credentials, and third-party SMTP tokens all expire periodically. When this happens, the workflow continues running but emails simply don't send, and you won't know unless you're monitoring delivery status. Set up credential rotation reminders and test your automation monthly with a real email delivery.
Rate limiting from email providers kicks in faster than most builders expect. Gmail allows roughly 100 emails per day for free accounts, while most transactional email services start throttling around 100-200 emails per hour depending on your reputation. When you hit these limits, subsequent emails get queued or rejected, potentially losing time-sensitive notifications. Monitor your email volume and consider upgrading to a dedicated transactional email service like SendGrid or Mailgun for high-volume workflows.
Webhook data structure changes break field mapping silently. If your form or API changes field names (from email to user_email, for example), your expressions like {{ $json.body.email }} start resolving to undefined, sending blank emails. Always include fallback values in your expressions: {{ $json.body.email || $json.body.user_email || 'No email provided' }}.
Memory accumulation in long-running workflows can crash self-hosted n8n instances processing thousands of webhooks. Each execution stores data temporarily, and high-frequency webhooks can exhaust available RAM if the instance isn't restarted periodically. Monitor your server resources and set up automatic restarts or consider horizontal scaling for heavy webhook processing.
Spam filter blocking affects even legitimate transactional emails if your templates trigger common spam indicators. Avoid excessive capitalization, multiple exclamation marks, or phrases like "urgent action required" in your email templates. Test your email templates with spam checking tools and maintain a consistent sender reputation by using the same SMTP credentials and sender name.
How do you secure webhook endpoints in n8n?
n8n webhooks are public by default, meaning anyone who discovers your webhook URL can trigger your automation. For contact forms, this might be acceptable, but for sensitive notifications or internal alerts, you need authentication.
The most practical approach is Header Auth with a secret token. In your Webhook node, set Authentication to "Header Auth" and specify a header name like X-Webhook-Secret. Then configure your external system to include this header with a strong, random token value. Only requests with the correct header will trigger your workflow.
For higher security requirements, use HTTP Basic Auth or integrate with your existing API authentication system using n8n's HTTP Request nodes to validate tokens against your user database.
What happens when email delivery fails in the middle of processing?
When the Send Email node fails due to SMTP errors, authentication issues, or network problems, n8n marks the entire workflow execution as failed and stops processing. However, the webhook trigger already consumed the incoming request, so the external system receives no response indicating the failure.
To handle this gracefully, wrap your Send Email node in error handling logic using n8n's error workflow feature. Create a separate error workflow that logs failed emails to a database or sends notifications to administrators when email delivery fails. This ensures you can retry failed sends and provide appropriate responses to webhook callers even when email systems are down.
For critical notifications, consider implementing a backup delivery method (like Slack notifications or SMS) that triggers when email delivery fails consistently.
Can you send emails to multiple recipients from a single webhook?
Yes, but the approach depends on whether you're sending the same message to multiple people or personalized messages to different recipients. For sending identical notifications to a team, simply add multiple email addresses in the "To Email" field separated by commas: team@company.com,manager@company.com,alerts@company.com.
For personalized emails or dynamic recipient lists, use n8n's Split in Batches node after your webhook trigger. This node processes arrays of recipient data separately, allowing you to send customized messages to each person. Configure the Split in Batches node to process one recipient at a time, then connect it to your Send Email node with recipient-specific field mappings.
How do you handle file attachments in webhook emails?
n8n can include file attachments in emails, but the files must be accessible via HTTP URLs or encoded as base64 data within the webhook payload. Most contact forms don't send file contents directly in JSON, so you'll need to modify your approach.
For simple file sharing, have your form upload files to a temporary storage service (like AWS S3 or Cloudinary) and send the file URLs in the webhook data. Then use n8n's HTTP Request node to download the files before passing them to the Send Email node's attachment field.
For base64-encoded files sent directly in webhook payloads, reference the encoded data in the Send Email node's attachment configuration. However, be aware that large files can exceed webhook payload limits and cause processing failures.
What's the difference between n8n self-hosted and cloud for webhook automation?
Self-hosted n8n gives you unlimited webhook executions and complete control over data processing, making it ideal for high-volume email automation or sensitive data handling. You'll need to manage server maintenance, SSL certificates, and updates yourself, but you avoid monthly execution limits and data residency concerns.
n8n Cloud handles infrastructure management and provides automatic updates, but includes execution limits based on your plan tier. For businesses just getting started with webhook automation, the cloud free trial offers a risk-free way to prototype your workflows before deciding on self-hosted deployment.
The technical capabilities are identical between versions - the same nodes, expressions, and workflow logic work on both platforms. Your choice depends primarily on execution volume, data sensitivity requirements, and whether you prefer managing infrastructure yourself or outsourcing it.
Ready to build your first automation this weekend? Start with this webhook-to-email foundation and expand into more complex notification systems as your needs grow. For additional automation templates and pre-built workflows, check out our done-for-you templates that you can customize for your specific use cases.
Want more automation tutorials like this n8n webhook to email tutorial delivered directly to your inbox? Join our free community for weekly breakdowns of practical automation builds that actually work in production.
For a deeper technical reference, see n8n's documentation.